DIY Glitter Jars That Sparkle All Day
-
Table of Contents
“Create Your Own Sparkle: DIY Glitter Jars That Shine All Day!”
DIY glitter jars are enchanting crafts that bring a touch of magic to any space. These simple yet captivating creations combine colorful glitter, water, and various decorative elements to produce mesmerizing visual effects. Perfect for both kids and adults, glitter jars serve as stress relievers, sensory tools, or delightful home decor. With endless customization options, you can create jars that reflect your personal style or seasonal themes, making them a fun and creative project for all ages. Whether used as a calming tool during moments of anxiety or as a whimsical decoration, DIY glitter jars truly sparkle all day long.
Creative Ways to Personalize Your DIY Glitter Jar
Creating a DIY glitter jar is not only a delightful craft project but also an opportunity to express personal creativity. Personalizing your glitter jar can transform a simple decorative item into a unique piece that reflects your individual style and preferences. There are numerous creative ways to enhance your glitter jar, ensuring that it stands out and serves as a meaningful addition to your home decor or a thoughtful gift for someone special.
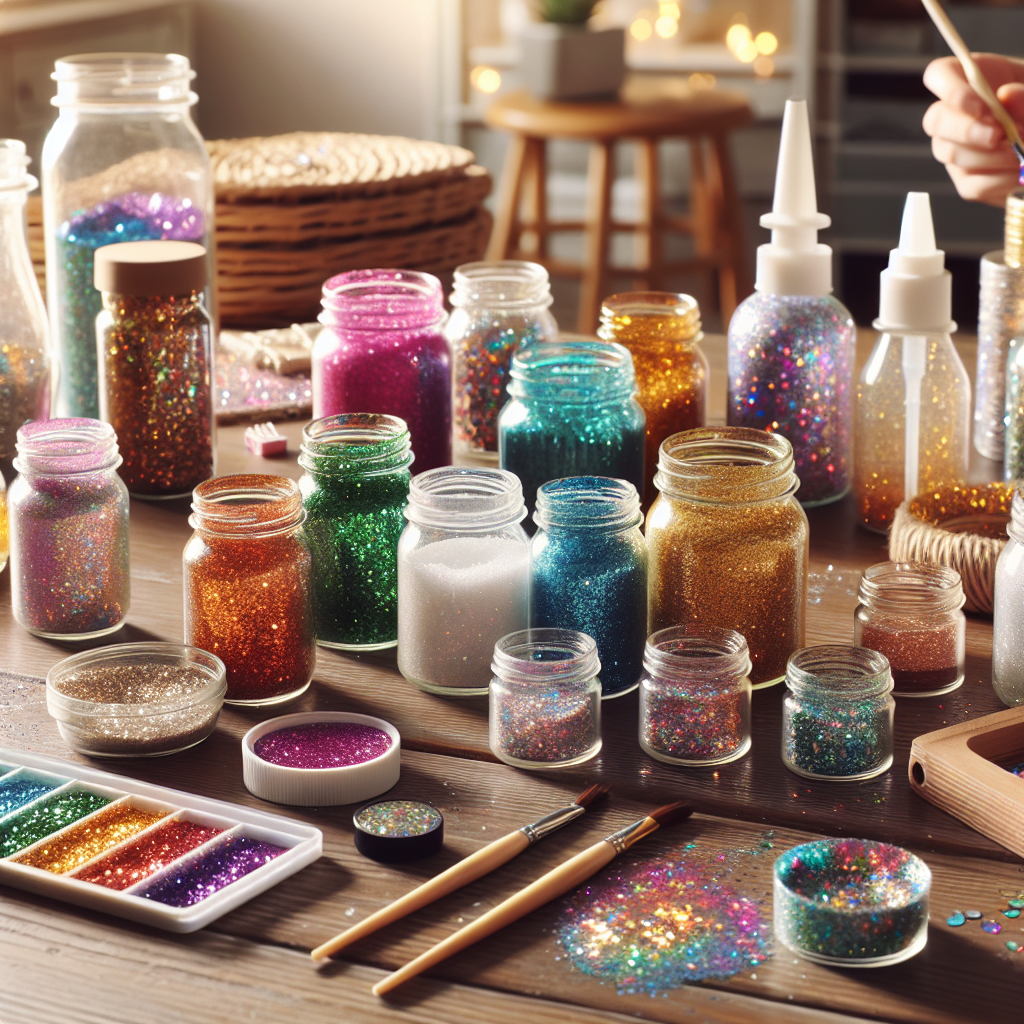
To begin with, selecting the right jar is crucial. While mason jars are a popular choice due to their classic appeal, consider exploring other options such as vintage glass containers, clear plastic bottles, or even repurposed jars from food products. Each type of jar offers a different aesthetic, allowing you to choose one that aligns with your vision. Once you have selected the jar, the next step is to decide on the color scheme for your glitter. This is where personalization truly begins. You can opt for a monochromatic look by using various shades of a single color or create a vibrant rainbow effect by mixing multiple hues. Additionally, consider incorporating themed colors that resonate with specific occasions, such as pastels for spring or warm tones for autumn.
Furthermore, the type of glitter you choose can significantly impact the overall appearance of your jar. While traditional craft glitter is widely available, you might also explore alternatives such as biodegradable glitter, which is an eco-friendly option that adds a touch of sparkle without harming the environment. For a more sophisticated look, consider using fine glitter or even metallic flakes that catch the light beautifully. In addition to glitter, you can enhance the visual appeal of your jar by adding other decorative elements. For instance, incorporating small beads, sequins, or even dried flowers can create a multi-dimensional effect that elevates the jar’s design. These additional elements can be layered within the jar, allowing for a captivating interplay of textures and colors.
Moreover, personalizing your glitter jar can extend beyond its visual aspects. Consider adding meaningful quotes or phrases that resonate with you or the recipient. This can be achieved by using adhesive vinyl or by painting directly onto the jar’s surface. Such inscriptions not only enhance the jar’s aesthetic but also imbue it with emotional significance, making it a cherished keepsake. Additionally, you might choose to create themed jars that reflect specific interests or hobbies. For example, a jar filled with blue and green glitter, along with seashells, could evoke a beach theme, while a jar adorned with stars and silver glitter might capture the essence of a night sky.
As you assemble your glitter jar, remember that the process itself is an opportunity for creativity and self-expression. Take the time to experiment with different combinations of colors, textures, and embellishments until you achieve a design that resonates with you. Once completed, your personalized glitter jar can serve various purposes, from a calming sensory tool to a decorative piece that brightens up any space. Ultimately, the beauty of DIY glitter jars lies in their versatility and the endless possibilities for personalization, allowing each creation to sparkle uniquely and reflect the individuality of its maker.
Step-by-Step Guide to Making a Calming Glitter Jar
Creating a calming glitter jar is a delightful and straightforward project that can provide both aesthetic pleasure and a soothing experience. This DIY activity is not only enjoyable but also serves as a tool for mindfulness and relaxation. To embark on this creative journey, you will need a few essential materials, including a clear jar with a lid, glitter, water, and optional additives such as food coloring or glycerin. The process is simple, yet the results can be mesmerizing.
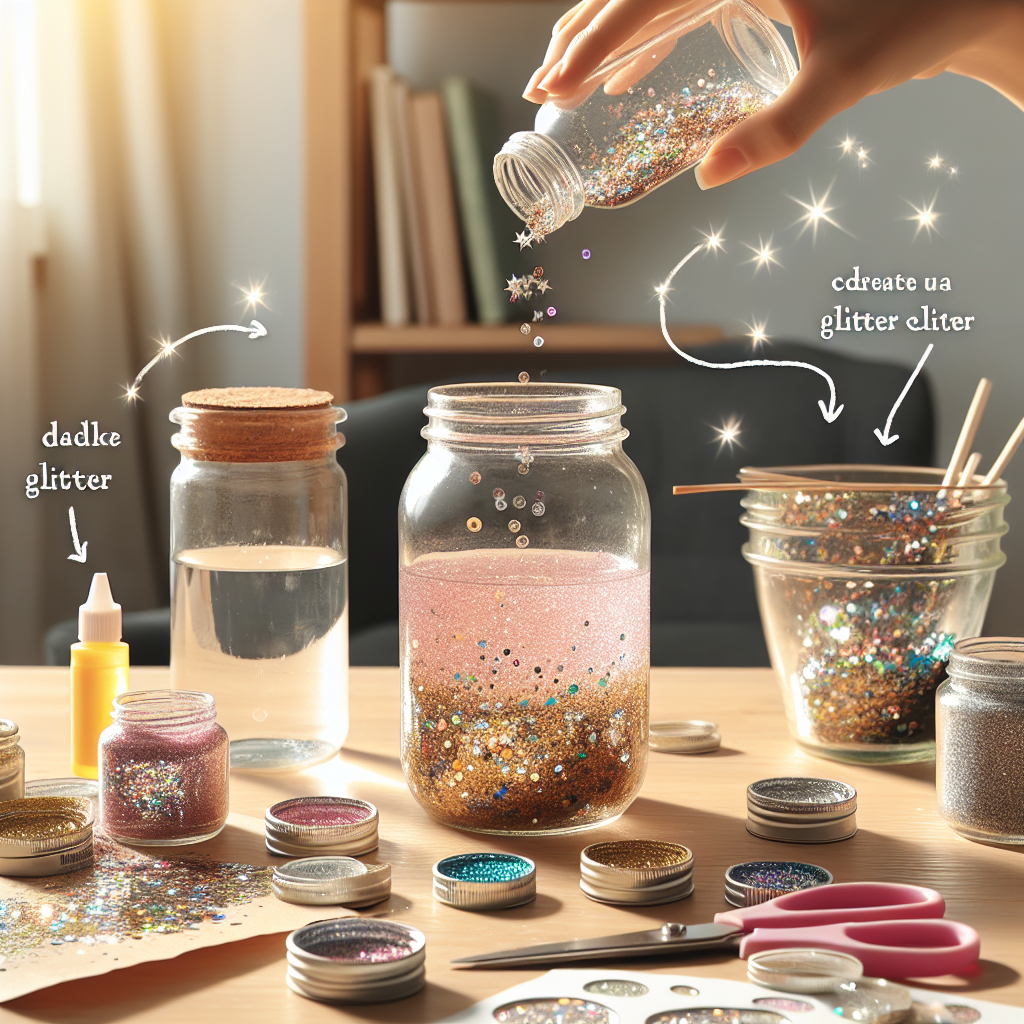
To begin, select a clear jar that suits your preference. A mason jar or any transparent container with a secure lid will work well. The size of the jar can vary depending on how large you want your glitter jar to be; however, a medium-sized jar is often ideal for this project. Once you have your jar ready, the next step involves adding water. Fill the jar about three-quarters full with warm water, as this will help the glitter disperse more easily. It is important to use warm water rather than cold, as it allows the glitter to swirl and settle more effectively.
After filling the jar with water, you can introduce the glitter. The choice of glitter is crucial, as it will determine the visual impact of your jar. You may opt for fine glitter for a subtle shimmer or larger, chunky glitter for a more dramatic effect. As you pour the glitter into the jar, consider the amount you wish to use; typically, a few tablespoons will suffice. The glitter should be added gradually, allowing you to gauge the desired sparkle level.
In addition to glitter, you may wish to enhance the visual appeal of your jar by adding food coloring. A few drops of food coloring can transform the water into a vibrant hue, creating a stunning contrast against the glitter. It is advisable to start with a small amount of coloring, as you can always add more if needed. Stir the mixture gently to ensure that the food coloring is evenly distributed throughout the water.
Once you have achieved the desired color and glitter combination, the next step is to add glycerin. This ingredient is optional but highly recommended, as it helps to slow down the movement of the glitter, creating a more calming effect. If you choose to include glycerin, a tablespoon or two should be sufficient. Stir the mixture again to ensure that all components are well combined.
After preparing the contents of your jar, it is time to secure the lid. Before sealing it, it is wise to test the jar by shaking it gently to observe how the glitter moves. If you are satisfied with the effect, proceed to tightly close the lid. For added security, especially if children will be using the jar, consider using glue to seal the lid permanently.
Finally, your calming glitter jar is complete. To use it, simply shake the jar and watch as the glitter swirls and dances through the water. This visual experience can be incredibly soothing, making it an excellent tool for mindfulness practices or stress relief. By following these simple steps, you can create a beautiful and functional piece that not only sparkles but also serves as a reminder to take a moment for yourself amidst the chaos of daily life.
Fun Themes for Glitter Jars: Seasonal and Holiday Ideas
Creating DIY glitter jars is a delightful way to infuse creativity into seasonal and holiday celebrations. These jars not only serve as decorative pieces but also as calming sensory tools, making them perfect for both children and adults. When considering themes for your glitter jars, the possibilities are as vast as your imagination. By aligning your designs with specific seasons or holidays, you can enhance the festive spirit while engaging in a fun crafting activity.
To begin with, let us explore the enchanting theme of winter. A winter-themed glitter jar can evoke the serene beauty of a snowy landscape. To achieve this, one might use white and silver glitter, simulating the glistening snowflakes that fall gently from the sky. Adding small, clear beads can mimic ice crystals, while a few miniature pine trees or snowmen can serve as charming focal points. When the jar is shaken, the swirling glitter creates a mesmerizing effect reminiscent of a winter wonderland, making it an ideal decoration for the holiday season.
Transitioning to spring, one can embrace the vibrant colors that characterize this season. A spring-themed glitter jar can incorporate pastel shades of pink, yellow, and green, reflecting the blooming flowers and fresh foliage. To enhance this theme, consider adding small artificial flowers or butterflies within the jar. As the glitter dances around these elements, it captures the essence of renewal and growth, making it a perfect centerpiece for Easter celebrations or simply to welcome the season of rebirth.
As summer approaches, the theme can shift to one that embodies the warmth and vibrancy of this lively season. A summer-themed glitter jar might feature bright colors such as turquoise, sunny yellow, and coral. Incorporating elements like seashells, miniature beach balls, or even tiny starfish can transport one to a sunny beach. The addition of fine sand can further enhance the beachy feel. When shaken, the jar can evoke the sensation of ocean waves, making it a delightful decoration for summer parties or beach-themed gatherings.
As autumn arrives, the colors of the season can inspire a rich and warm glitter jar. Utilizing shades of orange, red, and gold can reflect the changing leaves and the cozy atmosphere of fall. Small pumpkins, acorns, or even faux leaves can be added to the jar, creating a rustic charm. This autumn-themed jar can serve as a beautiful centerpiece for Thanksgiving, inviting warmth and gratitude into any home.
Finally, holiday-themed glitter jars can be tailored to specific celebrations such as Halloween or Christmas. For Halloween, a jar filled with black and orange glitter, along with tiny plastic spiders or ghosts, can create a spooky yet fun decoration. Conversely, a Christmas-themed jar can incorporate red and green glitter, with miniature ornaments or snowflakes, capturing the essence of the festive season. These jars can be used as gifts or as part of holiday decor, adding a personal touch to the celebrations.
In conclusion, the creation of DIY glitter jars offers an engaging way to celebrate the seasons and holidays. By selecting themes that resonate with the time of year, one can craft beautiful, personalized decorations that not only sparkle but also evoke cherished memories and emotions. Whether it is the tranquility of winter, the vibrancy of spring, the warmth of summer, the richness of autumn, or the joy of holiday festivities, glitter jars can serve as a creative outlet that brings joy and beauty into any space.
Q&A
1. **What materials do I need to make a DIY glitter jar?**
You will need a clear jar or bottle, water, glitter (fine or chunky), glycerin or clear glue, and optional decorations like food coloring or small figurines.
2. **How do I create the glitter effect in the jar?**
Fill the jar with water, add a few tablespoons of glitter, a splash of glycerin or clear glue to thicken the liquid, and mix well. Seal the jar tightly.
3. **What is the purpose of a glitter jar?**
Glitter jars are often used as calming tools for children and adults, providing a visual representation of emotions and helping to promote relaxation and mindfulness.DIY glitter jars are a creative and engaging project that not only provide a visually stunning display but also serve as a calming tool for stress relief and mindfulness. By combining simple materials like jars, glitter, and water, individuals can create personalized jars that sparkle and shine, making them perfect for decoration or as gifts. The process of making these jars encourages creativity and can be a fun activity for all ages, promoting relaxation and focus. Overall, DIY glitter jars are a delightful way to add a touch of magic to everyday life while fostering creativity and emotional well-being.
Leave a Reply